Feb 062006
 

I love the smell of sawdust in the morning. It smells like…cabinet making.
I have form!!! I have glued the base and top sections into the sides. It looks like a real arcade cabinet cab is actually starting to take shape. I am more inspired than ever. I’m finding that there are no true measurements any more. It is now measurements like 5/16’s not 1/4 or 1/2. Once you have enough things that are just a smidge too long or short, it adds up over time. I glued on the rails for the kick plate this morning. I also glued a guide on the actual kick plate itself. Tomorrow morning I will glue the kick plate to the cab. My only issue is that the left side of the kick plate is a smidge above the Control panel shelf while the right side is just under. Looks like I will need to get crafty with the router.


Feb 042006
 

I have wanted to work on my cab all week long. I was getting very good at cutting measurements that were actually the measurements that they were supposed to be. Somehow that changed during the week. I was probably way too tired to be working tonight. I just could not get a cut that was 25.5 in wide. With this particular cut, you can only make this mistake a couple of times before you’ve blown a whole sheet of MDF. I can repurpose these pieces for the pieces that need to be just a straight 25 inches. For me, it was the frustration of trying, and trying, and trying, and just kept cutting it wrong. I finally got a piece to the right size. Yay!!! Well sort of.

You see, I have a habit of wanting to see how things I make are going to look. I just had to see it. I put the sides, top and base together. Remember that it is channeled, with angles, so there is some natural strength without any glue or screws. I had assembled it on its side. I then got the harebrained idea of wanting to see it standing upright so I could see it at full height. I really do not know what I was thinking. I started to lift it up from the top. It was holding firmly. I decided to go for it. When it got to about 45 degrees gravity took over and it unassembled itself. Now as you might know, MDF by nature dents easily and crushes when dropped and it lands on a corner. Add to this the laws of Murphy, it dents even more when the object happens to be the above mentioned 25.5 inch piece that I spent so much time trying to get right. Now I have a totally mashed corner, hurt pride, and a wee bit of exhaustion.

Yup, I am done for the day.

Jan 292006
 

I put in the top channel for the second side. I then routed a 1/2 in. curve (bevel radius) on the back and bottoms of both sides. On the first side, when I got to where the channel was, the router dipped into the channel creating a lovely crater. I just stood there and stared at it for a while. But, as I am learning, wood putty is your friend. I filled the gap with wood putty and set it aside to dry. I cut out the kick plate and beveled the bottom of the piece and made some side braces for later in the build. These were rounded it as well. I love the router.

Jan 282006
 

I am seeing that building this is a great excuse to get some new tools. Knowing that the cab build was coming, I asked for and received a router for Christmas. I got to use it for the first time today. What a great tool. I started by doing a rough cut of the second side with the jig saw. Then I used a laminate bit on the router and just traced the first side. It mowed through the second side MDF like butter. I thought that there might be marks or divots. It was just as smooth as the first side. It was too easy.

With the confidence I just gained, I went on to cut the slots for the t-molding. T-molding is a plastic decorative trim that will be added at the very end of the build. The slot was just as easy. My only gripe is that one has to love the taste of MDF if he/she undertakes this hobby. That stuff went everywhere. Soon grabbed a face mask and continued.

After much procrastination (read… fear) I decided to try routing the first channel for the base plate. It needed to be 1/4 in deep and 3/4 in wide. I clamped a board to the surface to act as a guide. It was actually easy. The line was perfectly straight minus a couple of dings where I stopped paying attention (Note to self part II…). But It was very near perfect. I set the wheel base in the channel and it fit great. I then did the other cab side and it went well just as well. Later I cut the channel for the top boards on the first side. At this point it was getting dark and a little cold, so I called it a day. This is so much fun.

 Posted by at 8:54 pm
Jan 272006
 

Well, I am happy. I actually got to work on the cab tonight. It is taking a lot of time but it is fun. I am working on the cabinet sides. I guess it is my own fault; I wanted everything to be curves on this thing. I wanted no sharp corners or totally straight lines. So it is a lot harder to figure out measurements. After a lot of shaping, I finally have it coming into to a nice form. The sander really does nice work with MDF.

I had one near casualty. I was cutting the scoop out for the monitor area. While I was cutting everything started to slow down. I applied more pressure and eventually it became easier again. When the piece cut free I realized the reason for the slow down. I had cut right through the saw horse (Note to self… don’t do this. ). Tomorrow, I will clamp the other side to this one and route it into shape.

Jan 162006
 

Wood

The Build Begins…

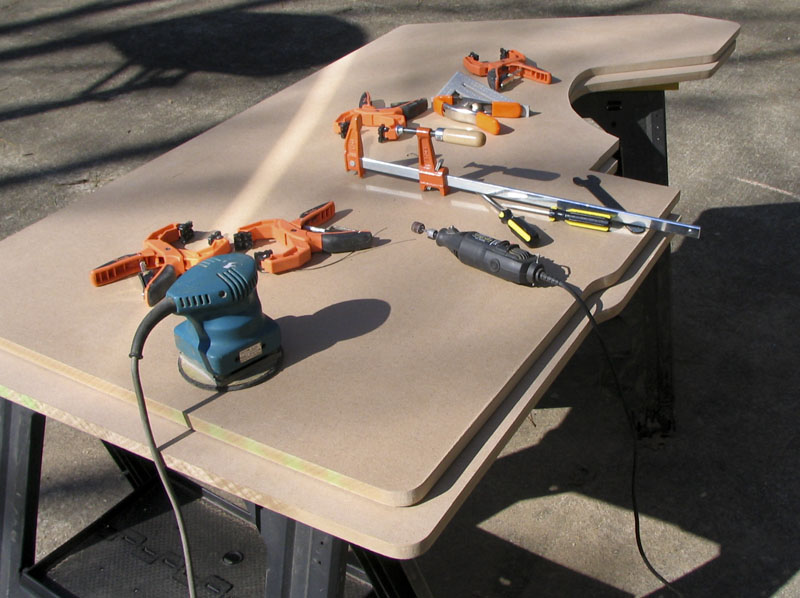
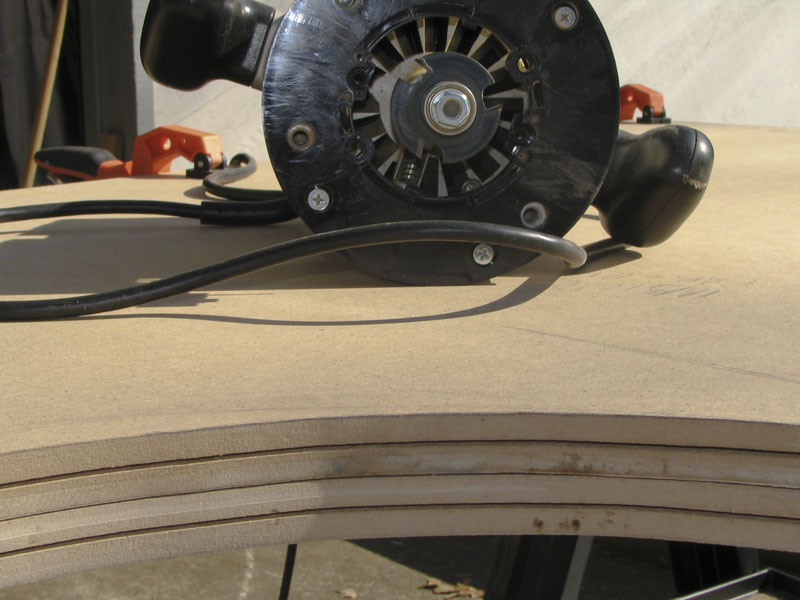
I started the actual build. It was a bit humbling. I had help getting the big pieces cut out, but have been going solo ever since. Today I learned how to rip a sheet of wood right down the center. I guess it is the nature of MDF to split so easily. Back to the saw and had to cut some more pieces. Part of me is thinking that I should be building the base out of ply.

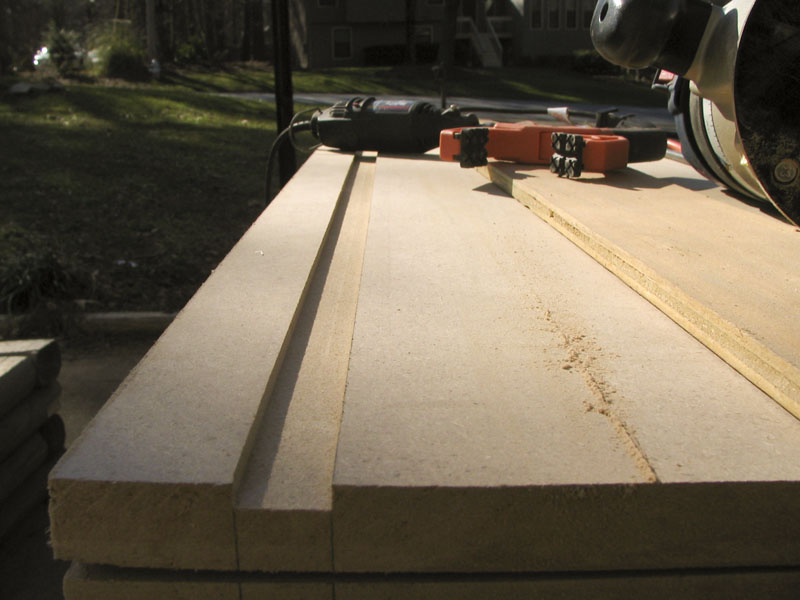
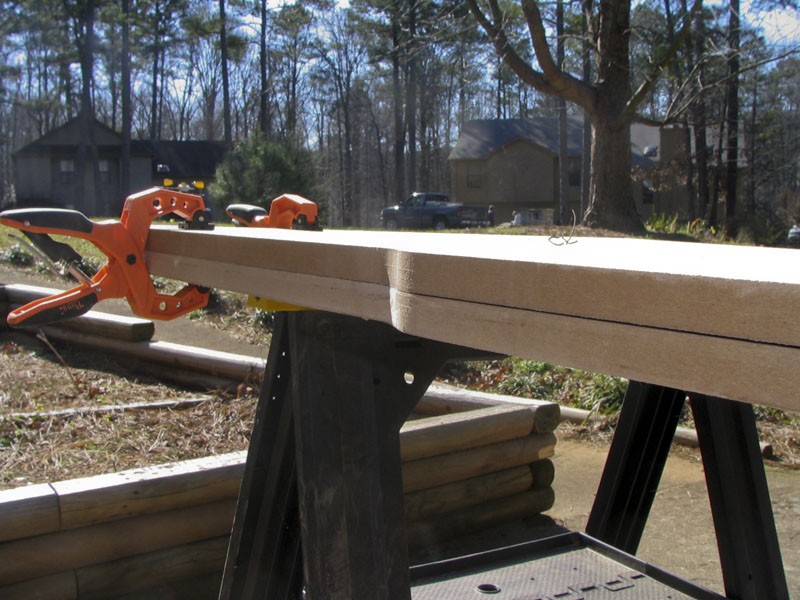
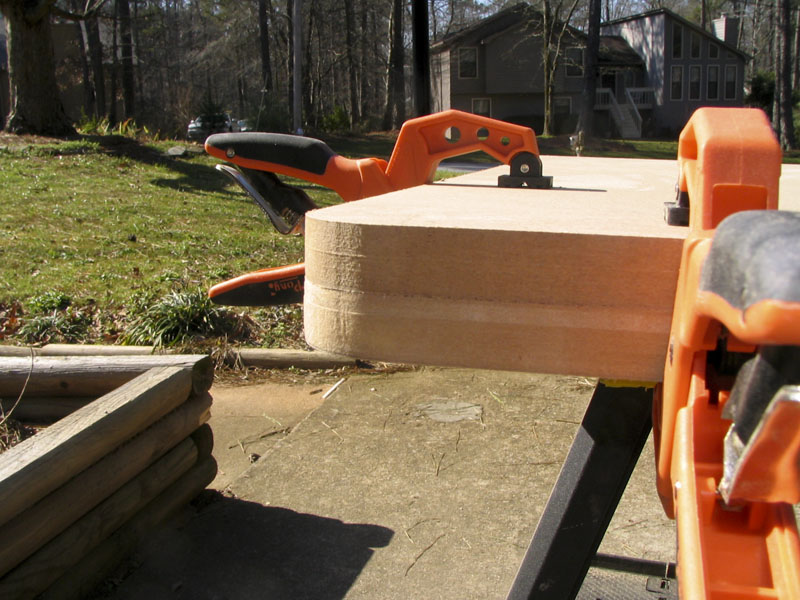
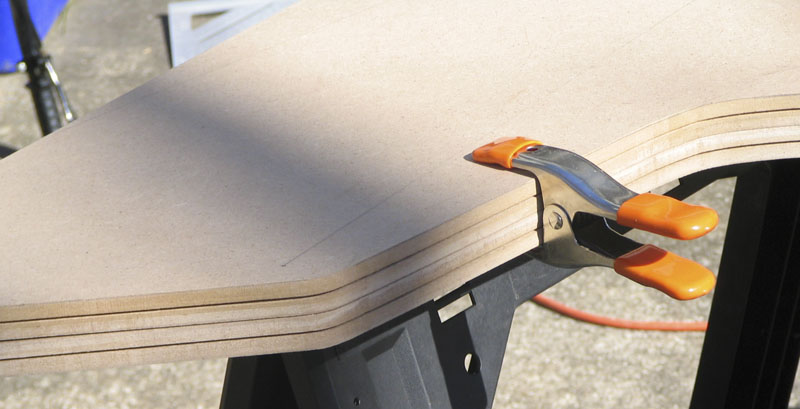
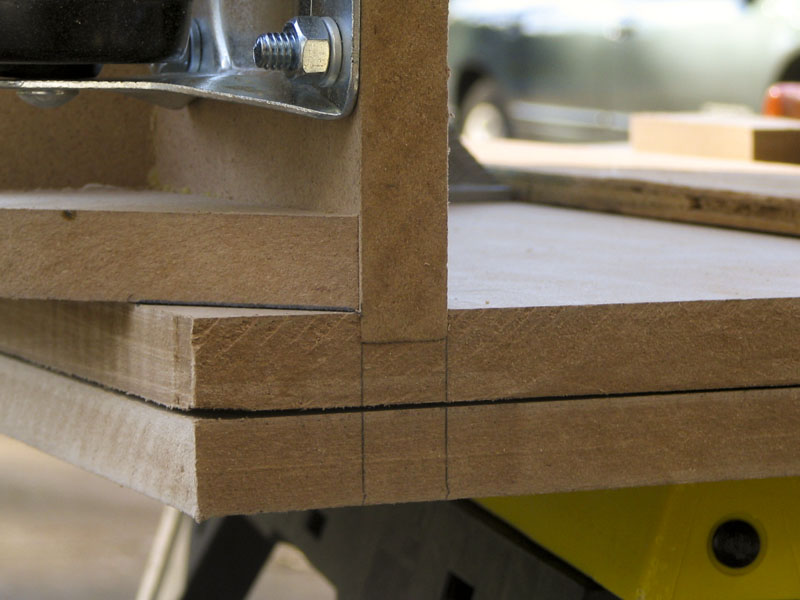
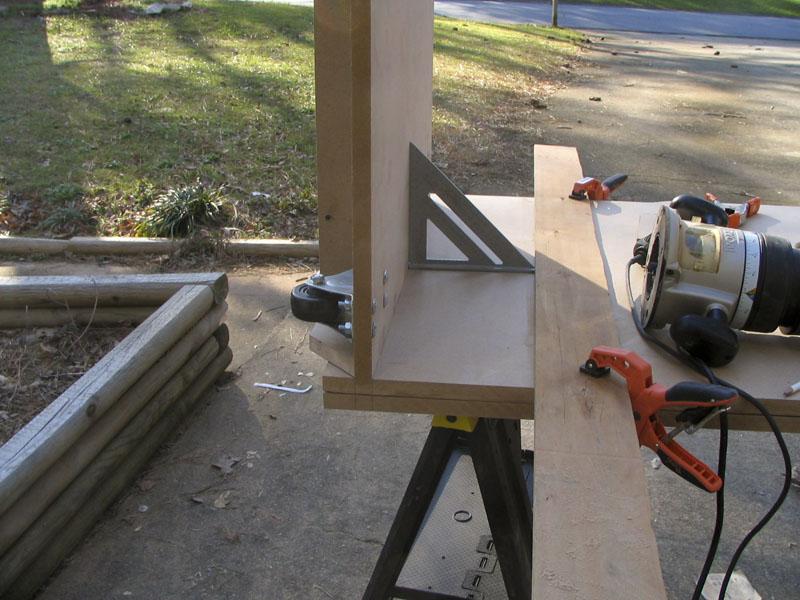
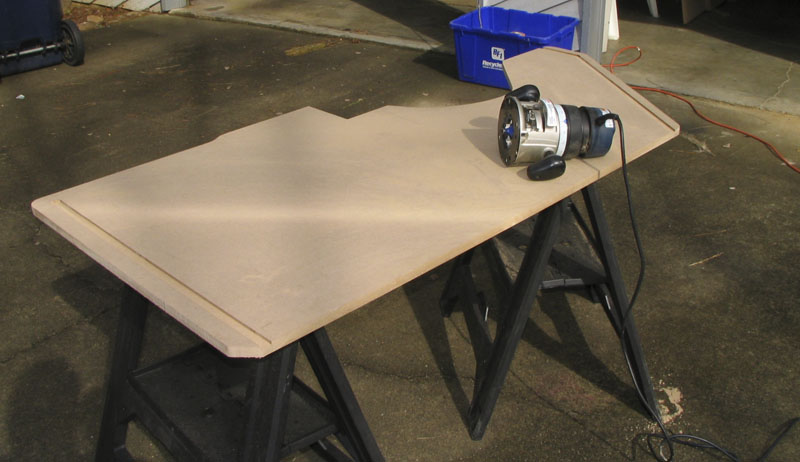
I am taking a couple of ideas from my Taito QIX cabinet. I am going to run a channel down both side pieces of the cabinet. It will be 1/4 in deep. Then when it is joined with the base I should get extra strength due to the extra contact, and it should be square (assuming my channel is square). I will also be channeling the top piece. I will have L brackets in place as well for extra strength.

I have watched so many people on the BYOAC board build these cabinets and I keep wondering how it could take so long. Well, know I know. I thought I would breeze through a lot of this. But I am seeing that it will not be a quick process. I was hoping to have much more completed by the end of the weekend.

The idea here is that this thing will probably weight quite a lot (3 sheets of MDF). The base is ¾ in. thick. I am using swivel wheels on the front and straight locked wheels on the back. At the very back there is an angle cut out so that I can tip the cabinet back and push it around with the back 2 wheels if I need to without tearing up the MDF. Once I found out how much space the swivel wheels needed, I attached braces through out the base. The braces were glued, and then screwed down for extra support. The screws were countersunk, covered with wood putty, and then sanded smooth.