 Yup!
Yup!
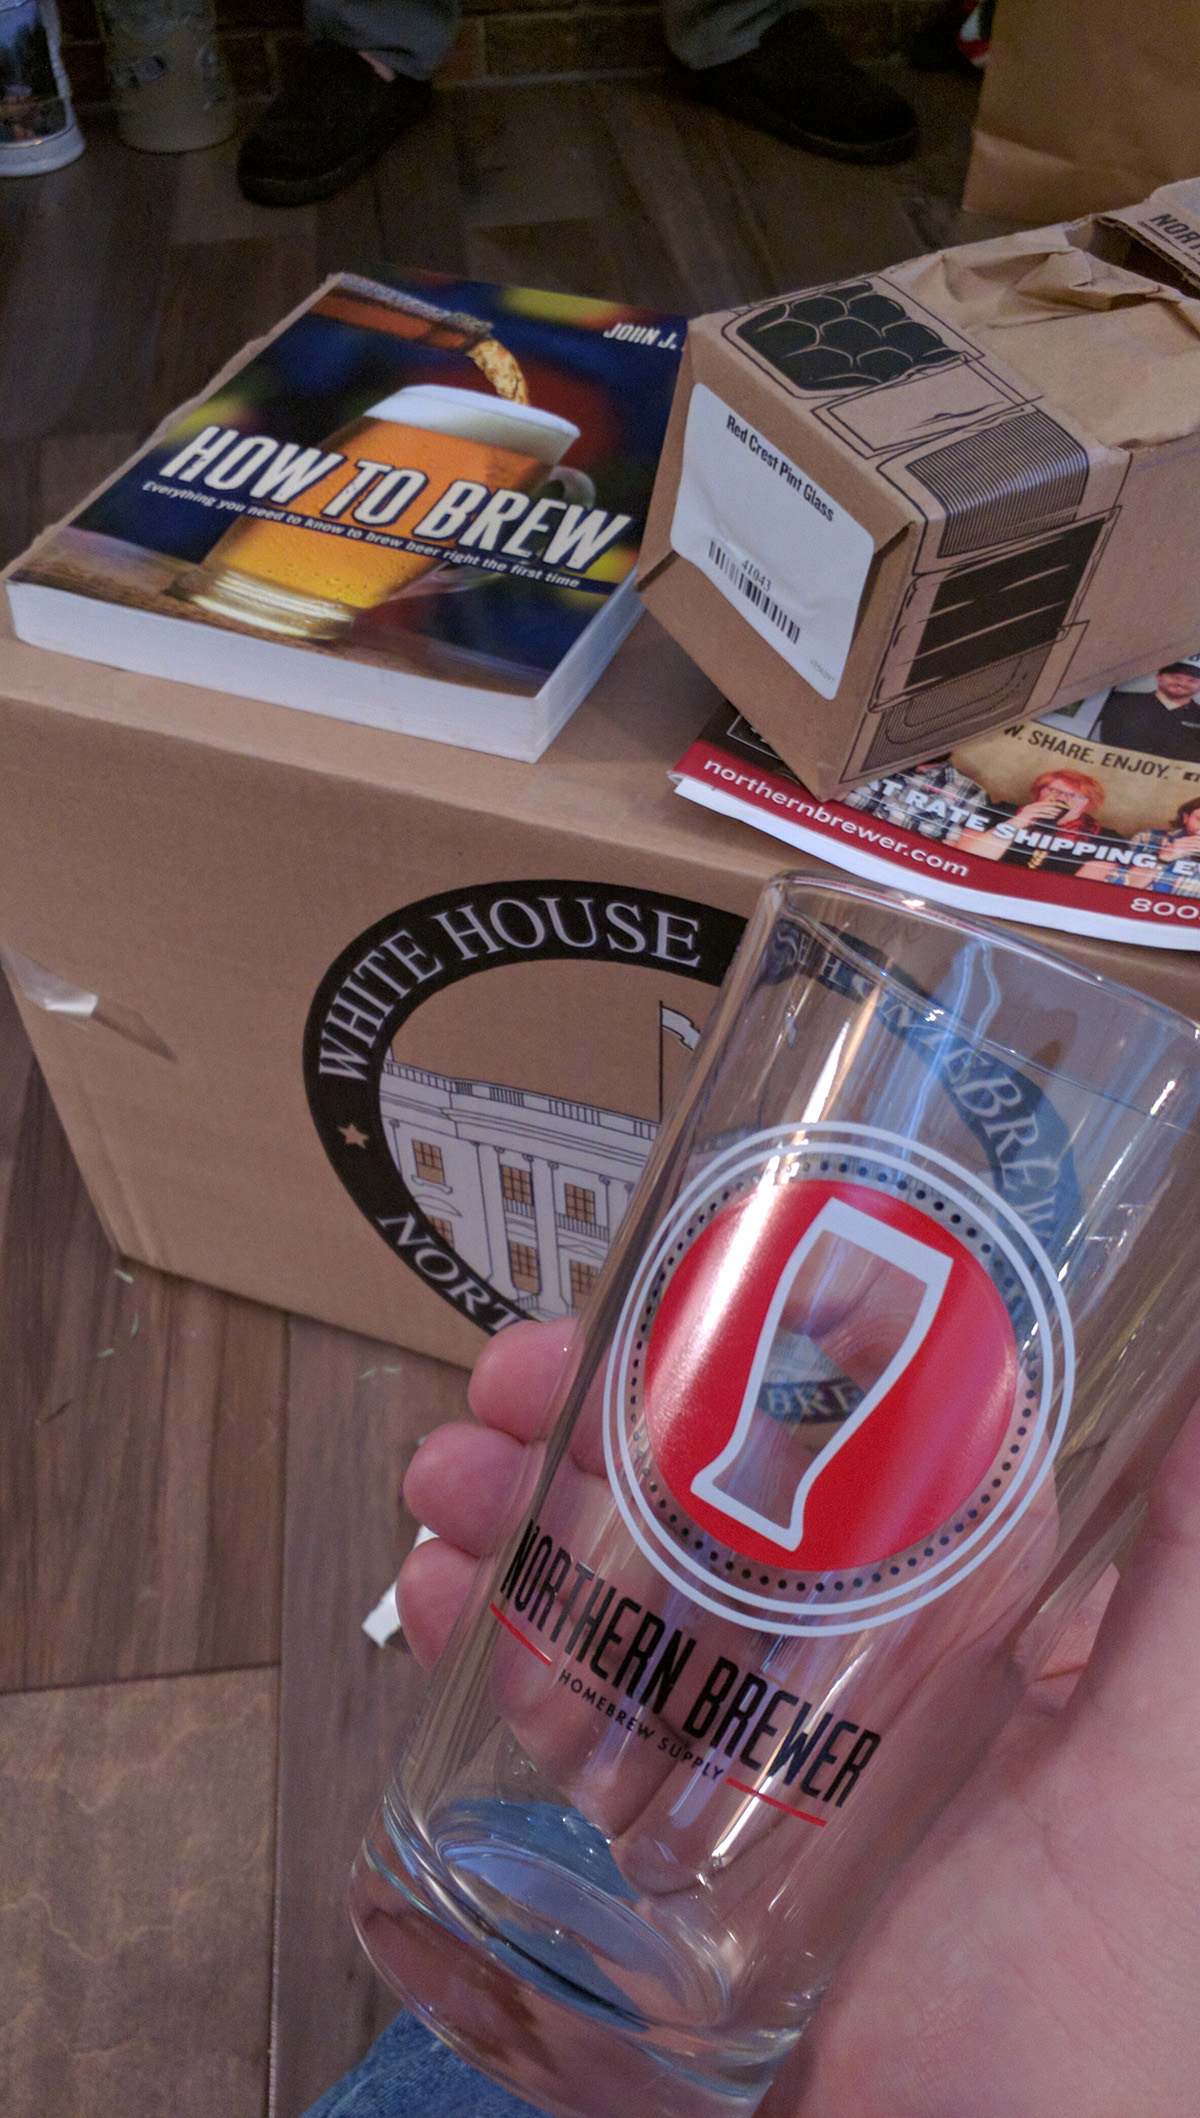
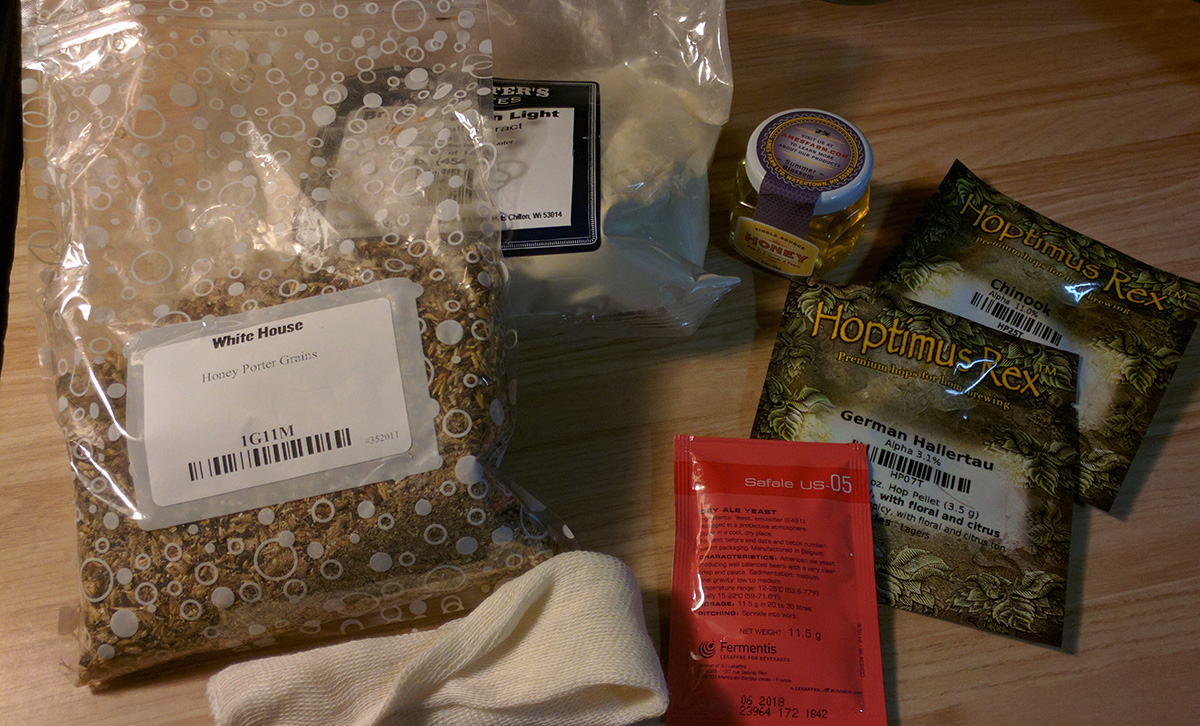
I have gone and dunnit. While I can’t tell you how, or why… But the beer turned out awesome. Truly inspiring actually. It was good enough that I was inclined to make more. I have now made 4 different beers (The White House Honey Porter, A brown ale called Caribou Slobber, a double IPA called Plinian Legacy, a hazelnut amber ale, and 3 home made apple ciders. Each has been a lesson in how to do it better, and other things one perhaps shouldn’t do. But the flavors have been… 1. well way more impressive than I thought possible, 2. Flavors that are insanely close to commercially available, and 3. Can pack quite a wallop. BZZZzzzzzzzzzzz
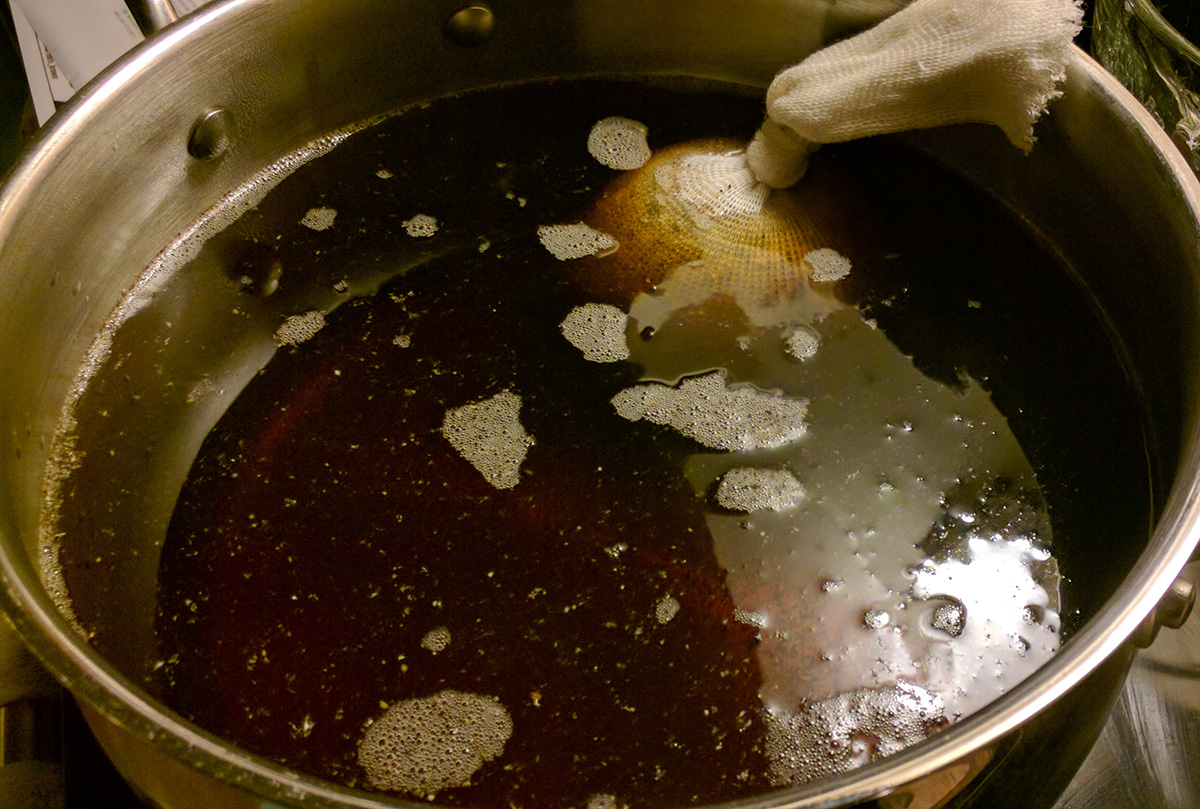
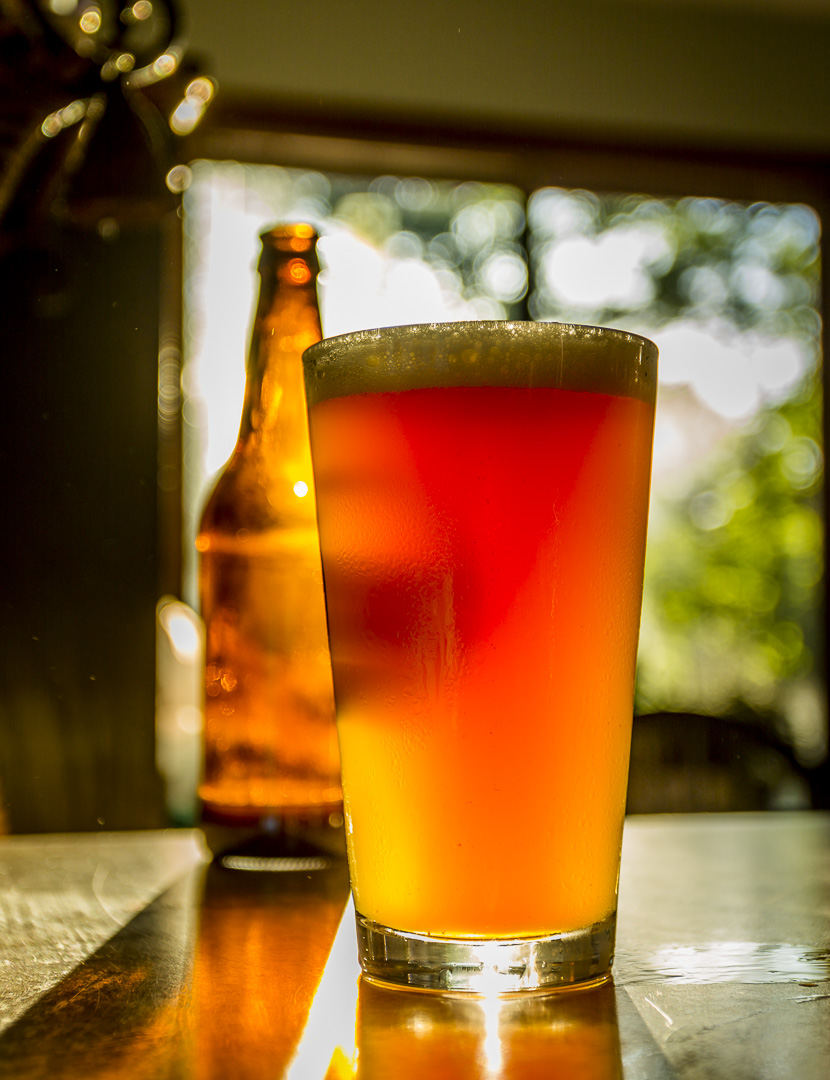
No story would be any good if there weren’t also a wee bit -o- drama. When I cracked my first bottle, I got a little nervous. There was no crack. It was just sort of clink (the cap hitting the counter). Where the heck was the PSHHHT? Uh oh. I had waited the full 2 weeks after bottling to try the first one, but there was no pressure. I poured it into a 2 glasses for my wife and I. But… There was no head. Because??? there were no bubbles. It smelled sweet, and… and like beer. I slowly and somewhat hesitantly brought it up to my mouth and took a sip. It was sweet, very sweet, but really yummy all at the same time. The beer was cold, but I got a warming feeling from within. I would describe it as rich darkness, light hops, quite malty, molasses, brown sugar, honey. Wow. So I got on line to find out about where the bubbles might be. While I don’t want a lot of carbonation, I do want a little. The internet didn’t disappoint. What I learned is that when bottle conditioning, you want to let the temperature come up above fermenting temps. The first couple months of this year had several cold weather snaps, and their timing seemed to align with while I was brewing. From what I read, I wasn’t hosed at all. Low carbonation is very fixable as there is still yeast hanging around in the beer. They just need to be encouraged to eat. This can be done by bringing up the temperature. I got the rest of the beers and put them in our kitchen dining room as it gets a lot of sun and is one of the warmer rooms in the house. I made sure to keep the beer out of direct sun because direct sunlight can ‘skunk’ your beer (hops hate sun). I let it sit for a week, and tested another bottle. This one had a weak ptssst, but it had ptssst!!! Hmmm ok. Lets try it. To my surprise, it had a lot of peppery little bubbles which played on and around my tongue. It was amazing how much the carbonation added to the flavor. This was exciting because I could see (taste) how it was forming and coming together. The carbonation was still a little weak for my tastes, so I let them sit for another week.
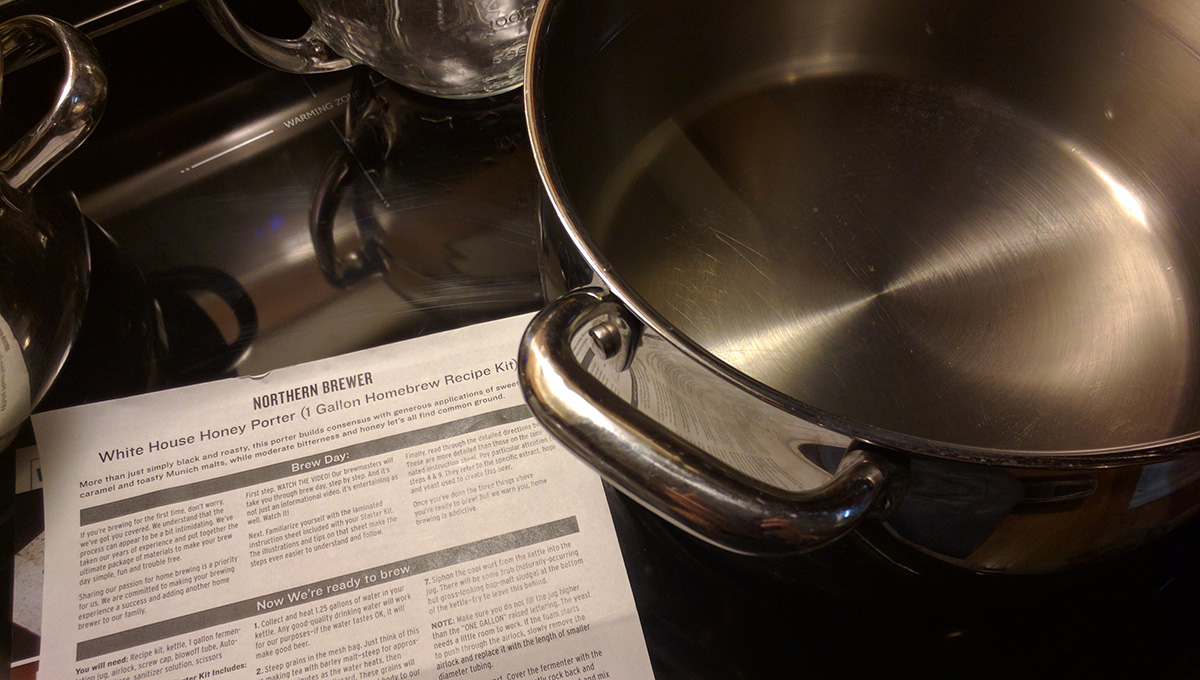
The next test… Wham! I had a full on BEER. Seeing how the temperature is critical at this stage, I have now made the kitchen dining room my conditioning room. Actually, it should be stated, temperature is critical throughout the whole process. The small kit instructions give some guidelines, but don’t speak about temperature in any great depth. I believe that this is because they are trying to get people brewing without throwing too many details to worry about.
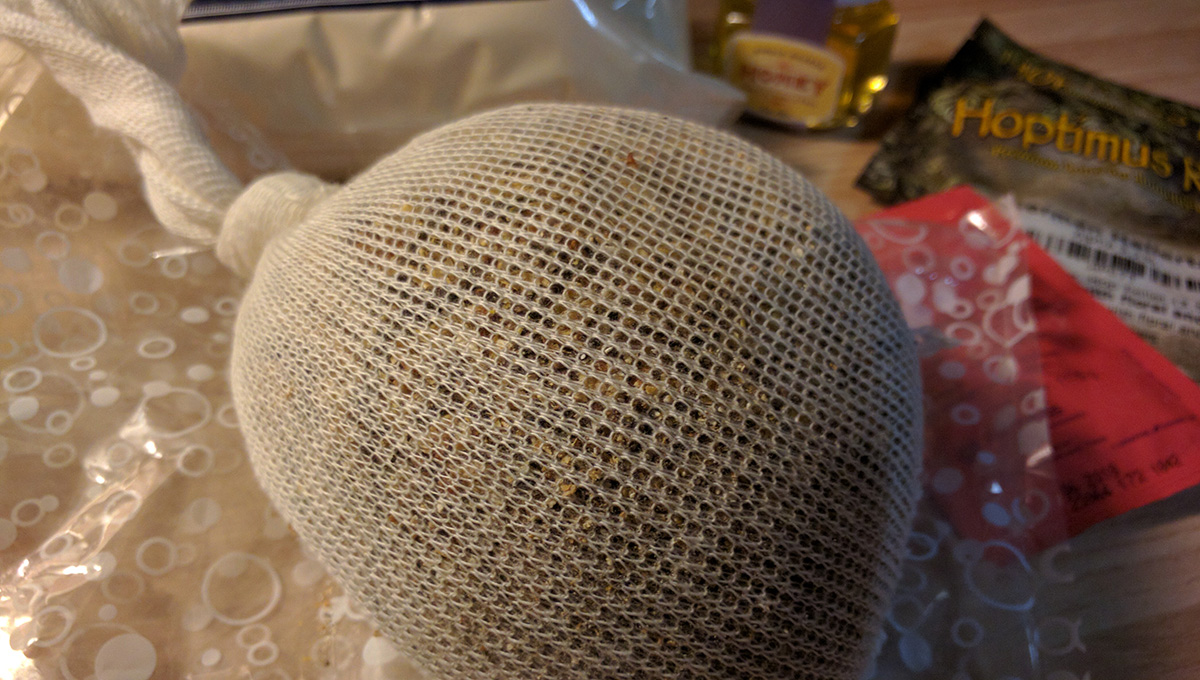
Why was I surprised by the great flavor? I am not sure what I was expecting. I guess when you see things up close, and you realize that this… THING has been sitting without any refrigeration for over a month. It has made slime and sludge, and things one would consider really really gross. It had me wondering how it could possibly be any good. But over time, the beer clears up. Similar to children, it matures and becomes an adult beer. Instead of a beard, it grows bubbles and a foamy head. Bottom line, you just have to trust the process.
I have been learning about all sorts of adult beverages. One which inspired me quickly was apple cider. There seems to be some conflict naming. Some companies in the US call it “Hard Apple Cider” but apparently it’s just apple cider to the rest of the world.
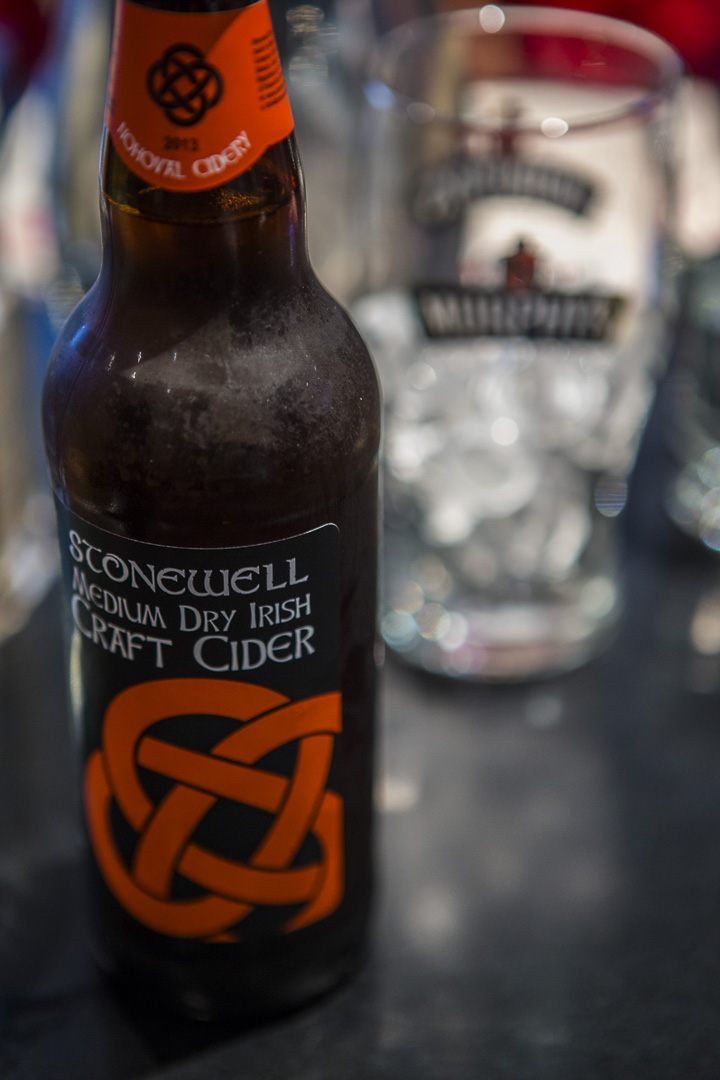
I tried some amazing cider (Stonewell) the last time I was in Ireland which left a lasting impression. I tried to find it when I got back to the states, but found (sadly) it was only bottled in Ireland. Given that the home made beer was pretty tasty, I started reading about how to make cider, and it turns out that there’s really not much to it. You take apple juice, sprinkle yeast on it, let it sit, put it in bottles, wait a while, and drink it.
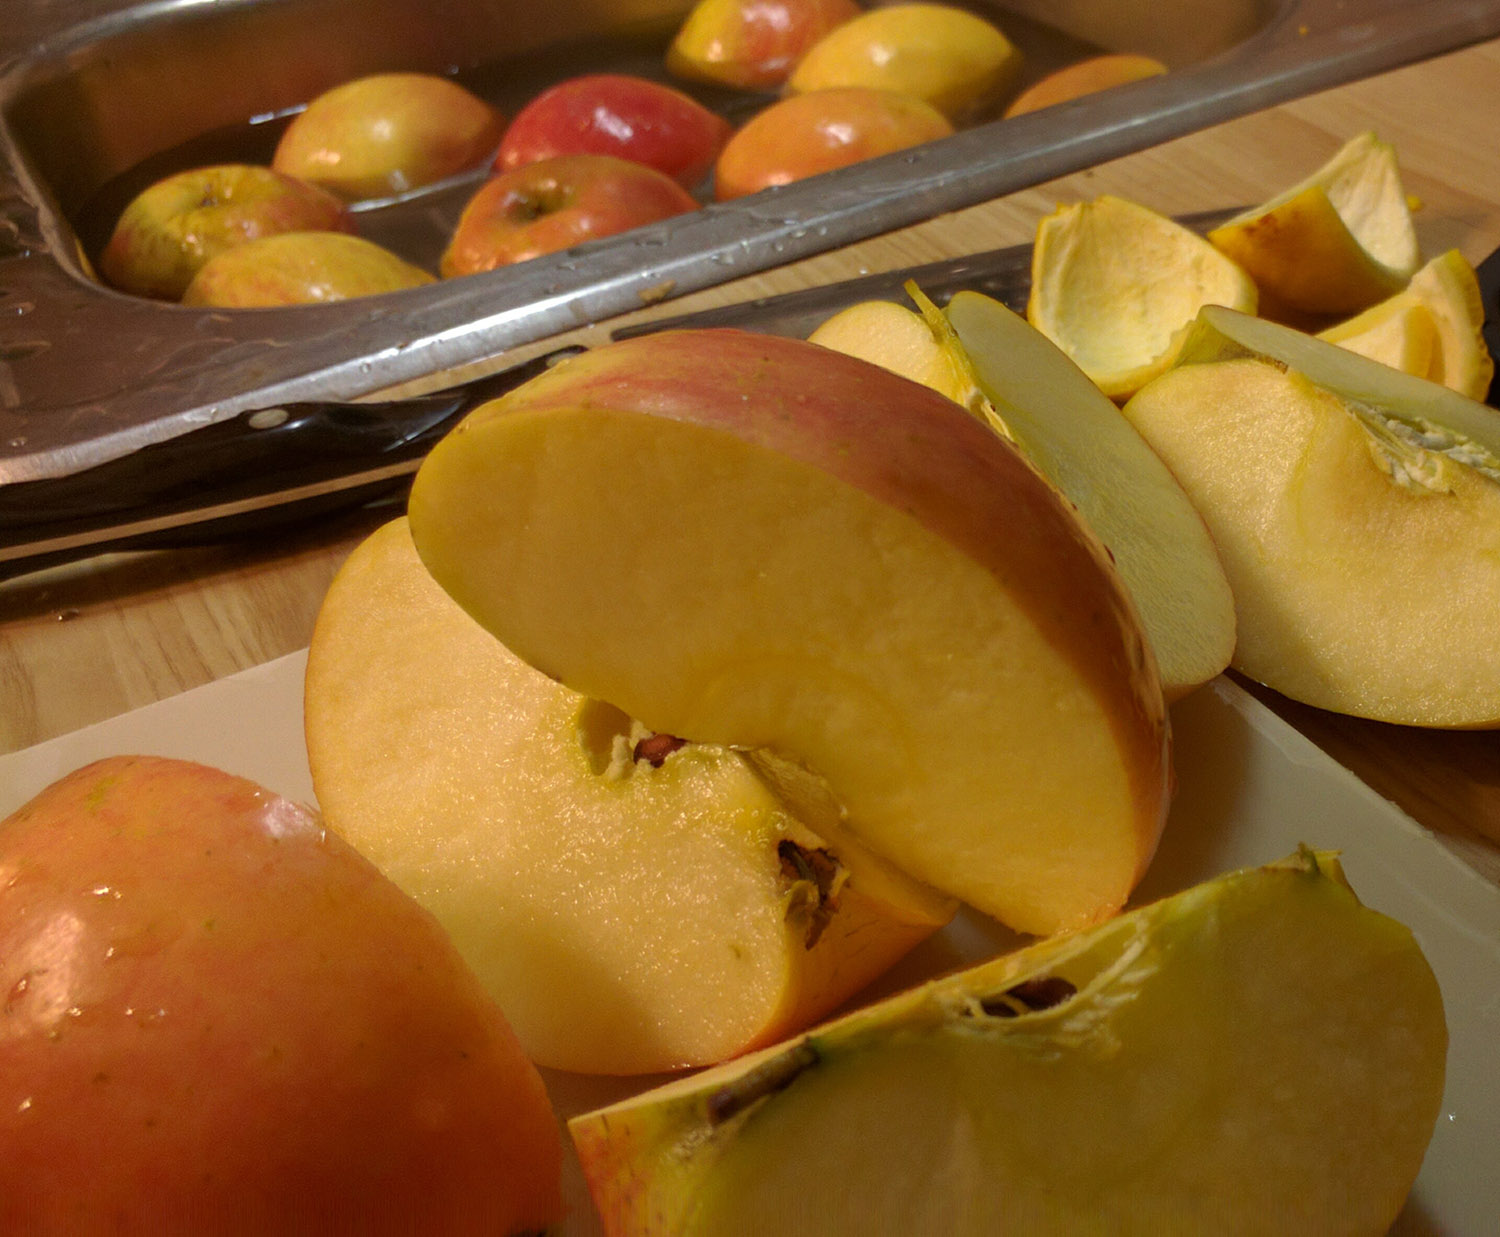
Some folks use the gold colored juice from the grocery as the base of their cider. Me being me, I wasn’t about to use reincarnated apples. I have a Breville juicer which I love and adore, so I decided that I was going to make mine from fresh apples. I bought 17 lbs. of apples. Brought them home, washed them, chopped them and removed as many stems and seeds as possible. Usually, when I make apple juice, I toss in a little lemon to get a bit of pucker in there. Figuring that this was a whole gallon, I added the juice of a whole lemon. 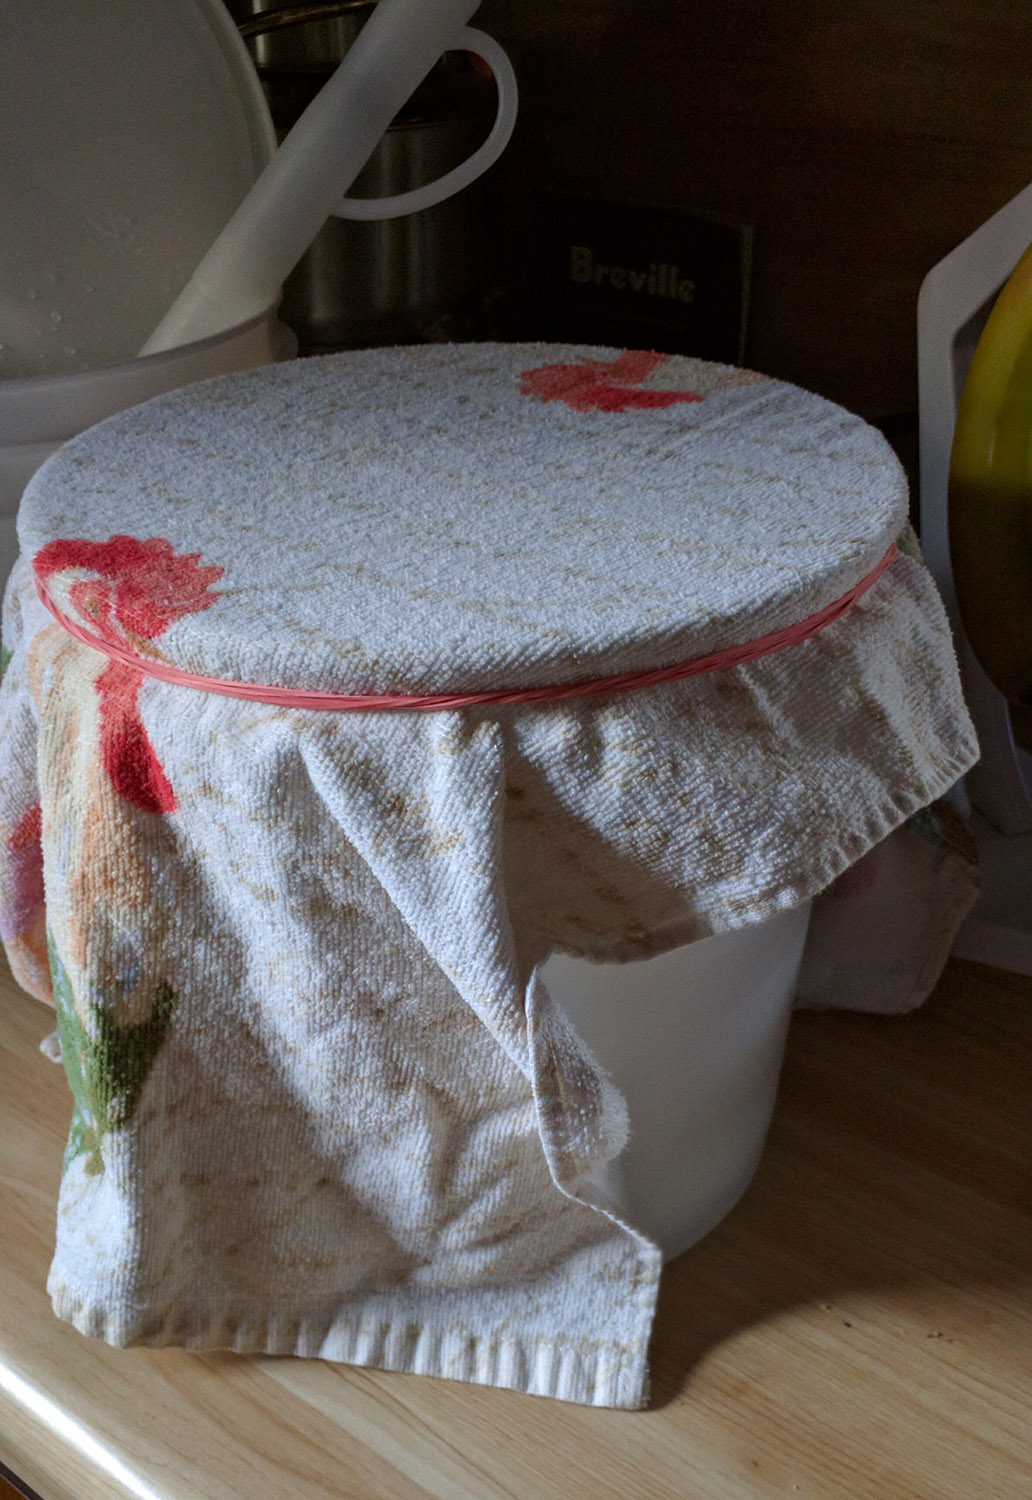 I have never made over a gallon of juice in one go. It was a mighty sight and the smell… Oh man, I wanted to drink it all up right there and then. I used one campden tablet (sodium metabisulfite) to kill off the natural yeast in the fruit. I needed to let it sit for about 36 hours as there’s a lot of sulfur in the campden tablets, and apparently quite a lot in apples as well. This sitting period was giving the juice the time it needed to ‘gas off’ the undesirable flavors. Otherwise the cider can taste and smell like rotten eggs, and that’s not the sort of thing I am in to. While the cider was sitting and awaiting yeast, I prepped a brown sugar simple syrup. This will add some sweetness as well as raising the original gravity of the cider. Most yeasts don’t like being smothered in their own waste (alcohol) and tend to die off, so it is recommended, and I used that which was formerly known as Champagne yeast, but you can’t call it Champagne yeast any longer (by law) because it wasn’t brewed in the Champagne region of France. But I digress… I added the ‘THE’ yeast and let it go. It took almost 2 days for the yeast to kick into gear, but once it did, bbLbbLbLbbLbbbLbb (< that there’z sum bubbles). A couple of weeks later I bottled em up using priming sugars in half the bottles (for fiz), and left the other half to just be natural.
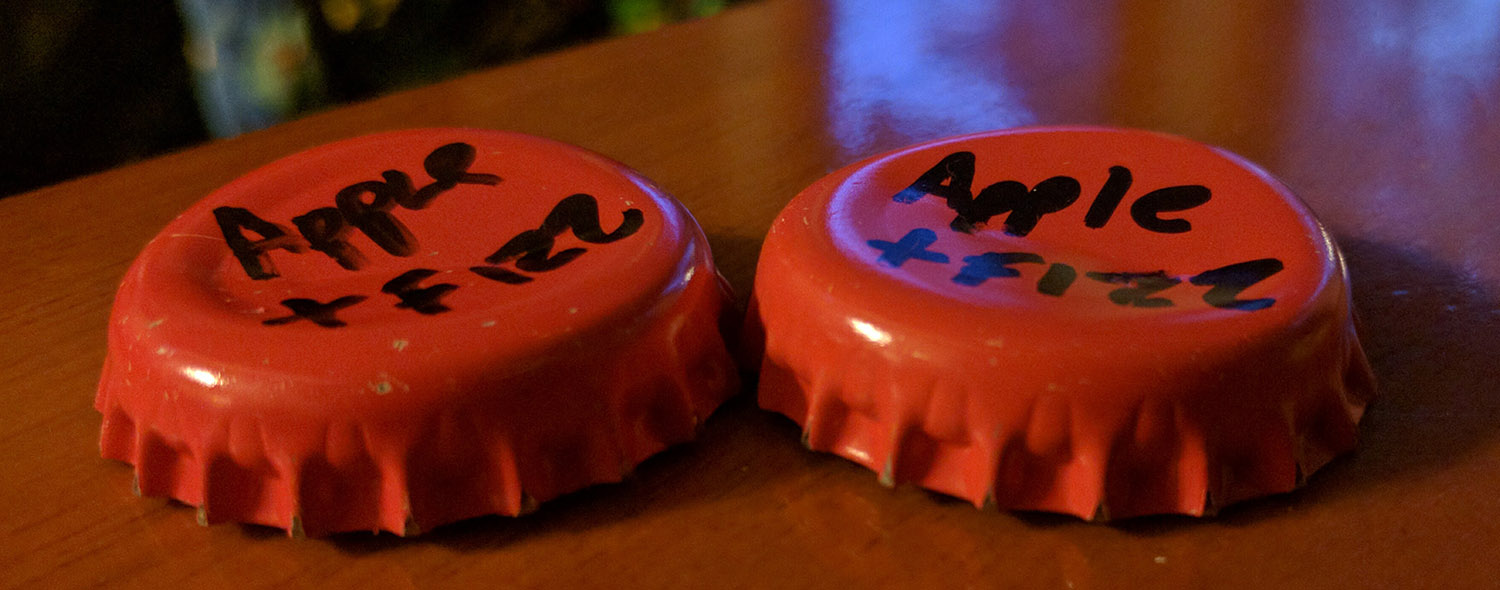
Results? The lemon used to pucker up apple juice? Not a great idea. Sour minus sweet = bitter. That said though, the cider was really pretty good (the cider concept that is. you know, minus the lemon vibe). I could see that this could very easily become an amazing thing. Lessons learned? I only used 1 type of apple. It was semi sweet and while yes apple, it was sort of flat, or one dimensional. My next batch would need more flavors of apple to round out and add more depth to the cider. Second lesson? Bubbles! Bubbles are once again IMPORTANT! The bottles with bubbles helped fill out the missing flavor that the one variety of apples just did not. I un-capped all the non carb’d cider and added priming sugar. Sadly at this late in the game, it… sort of helped, but didn’t. The stuff which was originally carbonated worked quite well, the non carbs didn’t. But all that said, I could see the potential.

A few weeks later I made a second batch. This was made up of 5 varieties of apples (Braeburn, Fuji, Gala, Granny Smith, and Red Delicious), I also added 1 lb. of strawberries, 2 cups of brown sugar, and .5 cup of white sugar (… because? dunno, just do it… right… okay). Same timings as last time. I put priming sugars in all bottles this time. How did it turn out? ABSOLUTELY BLEEPING SPECTACULAR!!! This is so on target. It looks great. It smells great. It makes my mouth happy. It bubbles perfectly in the mouth… Stinging and great fizzy sound you can hear rushing in the middle of your skull. And lastly… It tastes so good. I mean… Ohhhh mama… really really good.
I have a 3rd batch maturing in bottles right now. I wanted to make an apples to apples comparison (Yes, I know, and I am sorry). This one was made with a store bought “Just Juice” which was both labeled as ‘fresh pressed’, and made from fresh apples (not from concentrate). It’s the brown stuff, not the overly filtered gold. I can’t say anything about flavor yet, but if smell is any indication, it is not as fragrant. The fresh stuff’s smell is beautiful and intense. I wanted to know what extra couple of hours of work gets me. So far, I would say, a lot. But I am open to being pleasantly surprised.
The Brewing Future? All this time I have been brewing in single gallon batches. As I have been reading, for just a little more ingredients, and roughly the same amount of time, you can brew 5 gallons instead of 1 and most of the world deals in 5’s. A lot of work goes into a single gallon. Most of this time is spent cleaning, be it buckets, bottles, tubes… . I am in the saving stage to pick up the materials needed to make beer from all raw ingredients. This is called “All Grain”. In the past I have been using malt extract. In the future, all the fermentable sugars will be created from the actual malted barley. This will potentially (believe it or not), result in an equal or slightly lower cost depending on where it’s purchased. There’s a bit of a mark up for the convenience of the malt extract. There’s a few flavors I am prefer were not in the beer. Don’t get me wrong, they are still very good, but I guess I am dialing in to what I really want in MY beer. Stay tuned for future adventures in home brewing. Also, I am heavily considering making a video of the process once I upgrade.
Update 1: The store bought “Just Juice” turned out sour and unpleasant. It was the first batch which I considered not finishing. But it made for a great taste comparison when set side by side with the home made juice when I did some tastings for family and friends.
Update 2: With some birthday money, and some other saved funds, I have purchased the needed bits to brew 5 gallon batches. Expect another post about that soon.
Update 3: 09-07-17 I just finished the last of the fresh juice batch. For the first several months the flavor was outstanding. This last one I could detect a stronger bit of sour coming over it. It was still very tasty, but I could see that one might not want to let it go much further. This is good to know going forward.